The Fundamental Choice Between Heat Activation and Thread
Attaching a decorative or structural emblem comes down to two primary methods: heat bonding with a thermal glue backing or manual stitching with needle and thread. Heat-activated backings provide speed and convenience, allowing you to secure a design in just a few minutes using a household iron or heat press. However, sewing remains the gold standard for permanence, flexibility, and garment longevity, especially on items that undergo heavy movement or frequent laundering cycles.
Your decision typically depends on the underlying fabric, the weight of the embellishment, and how the garment will be worn. Thin cottons, structured canvas, and standard twill accept thermal adhesives quite well because the melted glue can penetrate the woven fibers. Dense synthetics, water-repellent coatings, and leather generally resist adhesives or can melt under the iron, making manual needlework the safer and more reliable fastening technique.
Many experienced makers use a combined strategy to get the advantages of both approaches. Using heat activation first tacks the piece flat in place without shifting, bunching, or needing awkward pins. Following up with a simple perimeter stitch around the border guarantees the piece will not curl or peel away over years of use, regardless of how often you toss it into the wash.
Garment Preparation and Fabric Compatibility
Before applying any heat or running a needle through your apparel, the base fabric must be thoroughly cleaned and preshrunk. New garments frequently carry sizing chemicals, starches, or factory finishes that prevent thermal adhesives from gripping raw fibers. Washing and drying the item without fabric softener removes these chemical barriers and ensures the garment will not shrink unevenly beneath the patch later.
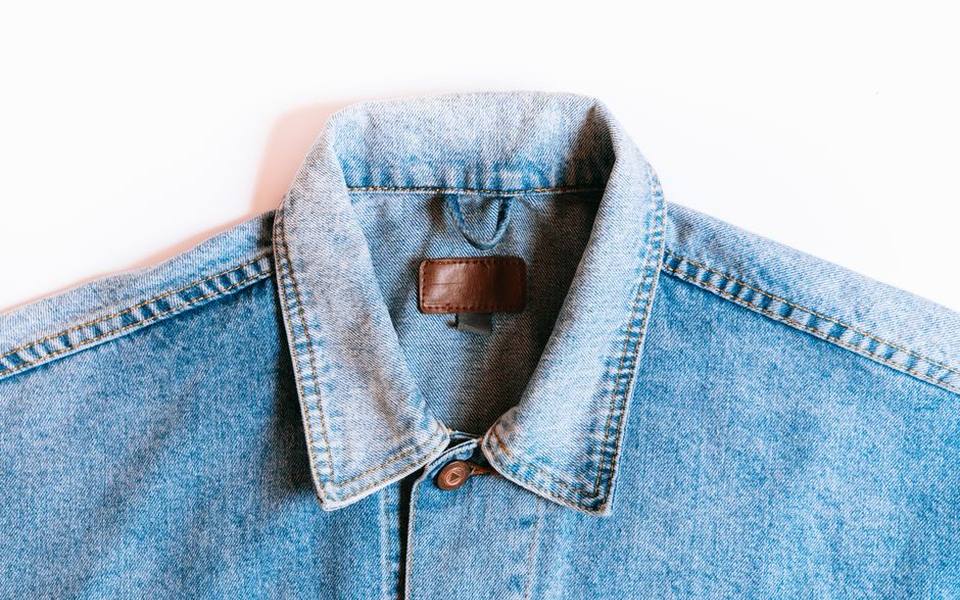
Inspect the fiber content tag inside your jacket or pants before choosing your attachment tool. Natural fibers like heavy cotton, denim, duck canvas, and wool blends handle the required ironing heat with ease. In contrast, nylon windbreakers, polyester linings, rayon, and faux leather will scorch, shrivel, or melt instantly under temperatures exceeding three hundred degrees Fahrenheit, demanding hand sewing or fabric-safe cold adhesives instead.
Smooth the target area completely on a firm, flat work surface rather than a padded, springy ironing board. A wooden cutting board covered with a smooth cotton towel or a heavy tailor's ham provides the solid resistance needed to transfer continuous, even pressure into the glue layer. Uneven tables or excessive padding absorb downward force, leaving soft spots where the adhesive fails to latch onto the weave.
Step-by-Step Iron Application for Embroidered Appliques
Applying iron on embroidered patches requires steady heat, sustained pressure, and patience rather than sliding movement. Set your domestic iron to its highest cotton or linen setting, and make sure the steam reservoir is completely empty or switched off. Moisture interferes directly with heat-activated resin, creating steam pockets that prevent the glue from curing firmly into the fabric pores.
Preheat the target section of the garment by pressing it for roughly ten to fifteen seconds to drive out lingering humidity and warm the fibers. Position your design face up exactly where you want it, then cover it with a lightweight pressing cloth, such as an unprinted cotton bandana or a sheet of parchment paper. The pressing cloth protects delicate embroidery threads from direct scorching and prevents the iron plate from catching on thick borders.
Press down with firm, continuous two-handed pressure for thirty to forty-five seconds without wiggling the iron. Lift the iron cleanly, turn the garment inside out, and apply heavy heat to the reverse side for another thirty seconds directly over the backing footprint. Allow the entire area to cool completely to room temperature for at least twenty minutes before flexing or trying on the item.
Reinforcing Jeans and High-Stress Denim Areas
Knees, inner thighs, and rear pockets experience extreme tension, abrasion, and repeated bending during regular daily activity. When applying iron on patches for jeans, standard surface adhesion alone rarely survives the continuous stretching that denim undergoes. Installing iron on denim patches for jeans works best when applied directly to clean, flattened fabric that has not yet worn into loose, threadbare strings.
For blowouts and tears, turn the pant legs inside out and position iron on denim patches slightly larger than the damaged zone across the backside of the hole. Working from the interior creates a structural bridge that stabilizes frayed cotton edges while keeping the repair low-profile. If you prefer external styling, placing iron on jean patches over the outer surface adds immediate visual character while sealing fraying horizontal warp threads.
Because blue jeans require durable upkeep, always run a machine stitch or hand stitch across the perimeter of any structural reinforcement. Heavy-duty denim thread anchored into the surrounding base material prevents the patch from pulling loose when you sit down or climb stairs. Once secured, you can comfortably clean your workwear at Self-Service Laundromats — Do Your Own Wash without worrying about loose edges peeling back in the drum.
Working with Custom and Personalized Emblems
Ordering custom iron on patches allows clubs, businesses, and hobbyists to create uniform insignias or individual artistic expressions. These items typically feature thicker merrowed edges and dense, raised thread counts that absorb and disperse heat differently than flat commercial prints. Because personalized iron on patches often use dense polyester embroidery threads, direct contact with a hot iron plate can flatten the three-dimensional sheen or cause thread discoloration.
When dealing with specialty designs, heating from the reverse side of the garment becomes doubly important. Applying the majority of your heat through the backside of the jacket fabric lets the thermal glue melt thoroughly without exposing delicate front stitches to excessive heat. A protective parchment sheet on the front side also keeps sticky glue overflow from smearing across the embroidery face during the melting process.
Check whether your personalized pieces feature specialty plastic backings or peel-and-stick temporary stick-on glue. Some custom designs arrive with a simple pressure-sensitive backing meant purely for temporary placement on uniforms during events. If the backing is tacky to the touch straight out of the box, it is likely a temporary adhesive that requires needle reinforcement if you intend to wear it permanently.
Traditional Hand and Machine Stitching Techniques
Opting for sew on patches gives you complete control over permanence and allows you to customize materials that cannot handle heat. Attaching sew on embroidered patches with needle and thread preserves the natural drape of lightweight clothing, whereas thick glue often creates an unyielding, cardboard-like stiffness. A hand-stitched piece can also be carefully unpicked and transferred to a new garment in the future without leaving ruined fabric behind.
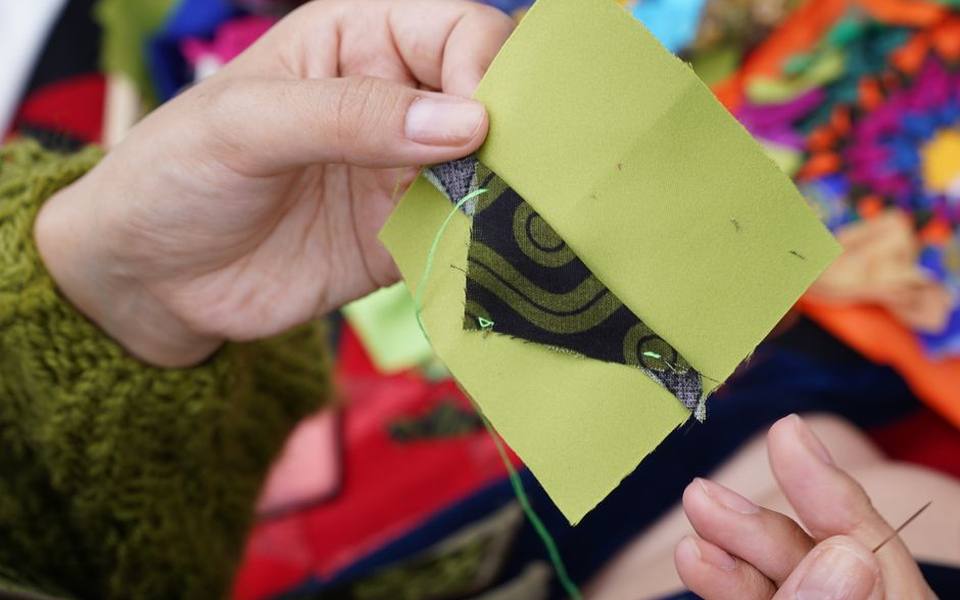
A running whipstitch or an invisible slipstitch around the outer merrowed edge is the traditional hand-sewing approach. Use heavy-duty polyester or bonded nylon thread matching the border color to make your stitches blend seamlessly. Secure the center with painter's tape or safety pins first so the fabric does not twist or pucker while you work your way around the perimeter.
For machine application, use a heavy denim needle (size 90/14 or 100/16) and set your machine to a short, narrow zigzag stitch or a straight lockstitch just inside the rolled border. Turn the handwheel manually around sharp corners to ensure the needle enters cleanly through the dense border without skipping stitches. Using clothing patches sew on methods ensures that even heavy leather or oilskin jackets carry heavy insignia securely.
Styling and Balancing a Heavy Outerwear Jacket
Curating a classic jacket with patches requires thoughtful placement to maintain balance, weight distribution, and comfortable movement. Placing too many stiff, heavy emblems directly across the upper shoulder blades or elbow joints can restrict your range of motion when driving or working. Spreading emblems across the chest panels, lower torso, and outer biceps keeps the garment comfortable and visually harmonious.
Layout planning is easiest when the garment lies flat on a broad table. Arrange your entire collection before fastening a single piece, taking photos with your phone to compare different layouts and spacing intervals. Standard placement guidelines recommend leaving at least an inch between borders to prevent adjacent stiff zones from rubbing against each other or creating awkward folds when the jacket bends.
Consider the underlying construction features of your coat, including deep interior pockets, chest flaps, and quilted thermal linings. Stitching or heating through an interior pocket flap can accidentally sew the pocket closed or melt delicate lining nylon. Slip a protective wooden block or a tailor's sleeve board inside the pocket cavity to isolate the outer shell layer while fastening.
Tackling Curved Surfaces: Hats, Sleeves, and Backpacks
Applying decorative elements to curved panels like ball caps, rounded backpack corners, and narrow sleeves presents unique mechanical challenges. A flat iron cannot reach into the tight crown of a structured six-panel baseball cap without crushing the buckram front structure. Similarly, narrow sleeves make it difficult to clamp an iron down without simultaneously heating the opposite side of the sleeve.
To work on curved items, build an internal support using a rolled towel, a rounded wooden tailor's press, or a baseball tucked inside the cap crown. This creates a solid backing that supports the shape while you apply pressure with a compact mini-craft iron. When using heat on hats, test a small interior section first, as cap crowns often contain synthetic stiffeners that warp permanently under standard iron settings.
Backpacks and duffels made of heavy cordura nylon or treated canvas often resist thermal glues entirely due to water-repellent chemical coatings. For these gear bags, heavy awl stitching or specialized flexible shoe adhesives paired with hand stitching yields far better durability. Taking time to hand-sew through tough nylon seams prevents losing prized travel emblems during rough transit.
Laundering and Long-Term Garment Care
Proper laundry habits dictate how long applied iron on patches for clothes remain securely attached to everyday garments. High water temperatures and mechanical friction soften hot-melt glues and pull against thread loops over time. Always turn patched jeans, hoodies, and jackets inside out before loading them into a wash cycle to protect the embroidery from rubbing against buttons, zippers, and rough drum metal.
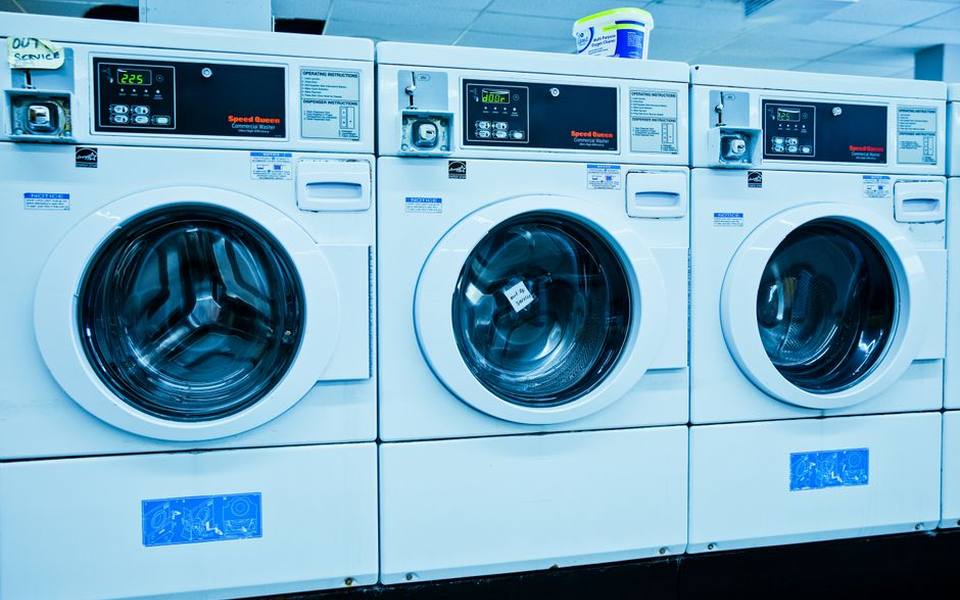
Wash patched garments in cold water using a gentle, low-spin cycle whenever possible. When visiting Attended Laundromats, you can ask staff for advice on gentle cycles or drop off delicate items at Wash-and-Fold Laundromats with specific instructions to bypass aggressive heat dryers. Air-drying on a flat rack or sturdy wooden hanger is always the safest method to keep glue bonds intact.
If you must use a commercial dryer, select a no-heat or low-tumble setting. Commercial dryers reach high temperatures that easily reactivate adhesive resins, leading to loose corners and edge curling. For bulkier seasonal jackets, using Laundromats with Large-Capacity Machines gives garments ample room to tumble without tangling or experiencing abrasive friction against the drum wall.
Fixing Peeling Corners and Adhesive Failure
Even properly applied thermal backings can begin lifting at sharp corners after months of rugged wear and outdoor exposure. The moment you notice an edge peeling away, resist the urge to pull or tear it off, which can rip base fabric threads. Instead, place a piece of parchment paper over the lifted corner and reapply a hot dry iron with strong downward pressure for twenty seconds to attempt reactivating the resin.
If the original glue layer has collected lint, dirt, or lost its tack entirely, thermal reactivation alone will not hold. In this scenario, slip a tiny drop of permanent fabric adhesive or flexible craft glue underneath the lifted corner using a toothpick. Press the edge flat, wipe away any microscopic adhesive seepage immediately with a damp rag, and clamp the spot beneath a heavy book overnight to cure.
For a definitive repair that will never fail again, grab a sewing needle and match the border thread. Placing three or four quick whipstitches directly through the troublesome corner anchors the rigid edge flush against the denim or canvas. Combining an initial glue foundation with occasional maintenance stitching guarantees your customized apparel stays intact for years to come.
Published 2026-09-24 · reviewed with each rebuild, last October 2026.
Find laundromats near you
The directory lists 26,375 laundromats by state and city — pick your state or use the “Near me” button in the header.
More guides
-
 Service
How to Clean Leather and Suede Jackets at Home
-
 Owning
How to Wash Baseball Caps Without Ruining Their Shape
-
 Safety
How to Safely Wash and Dry Electric Blankets
-
 Money
MoneyHow Much Does a Laundromat Cost: Per-Load Rates and Price Breakdown
-
 Money
MoneyDry Cleaning and Tailoring Cost Guide: Pricing for Everyday Garments and Alterations
-
 Owning
How to Clean and Wash a Sleeping Bag Safely
-
 Owning
How to Clean Leather and Suede Jackets at Home
-
 Owning
How to Machine Wash Shower Curtains and Bath Mats
-
 Owning
How to Remove Tough Stains and Odors: Rust, Sweat, Smoke, and Mildew
-
 Buying
Best Top-Load Washing Machines: Types, Features, and Buying Guide
-
 Buying
Washing Machine Comparison: LG, Speed Queen, Maytag, Samsung, and GE
-
 Buying
Front-Load Washers and Stackable Dryer Sets: Brand Comparisons and Buying Guide
-
 Safety
Best Fragrance-Free and Unscented Laundry Detergents for Sensitive Skin
-
 Service
Complete Guide to Suit Tailoring and Wedding Dress Alterations
-
 Buying
How to Buy a Laundromat: Equipment Assessment, Valuation, and Setup